Hello everyone, and welcome to another edition of Linkarati’s Tutorial Tuesday.
Today we’ve got the blog goin’ up, on a Tuesday…and despite that terrible reference to Drake, I promise this will be a helpful and informative tutorial.
In this Tutorial Tuesday I want to explain how you can use the tool Canva to create high-quality and customized imagery for your blog posts. Regardless of what topic you’re writing about, adding visual elements will make it stronger and more engaging. And Canva provides an excellent platform to create and modify images, which will take your content to the next level.
So without further ado, let’s get started (from the bottom). Okay, last Drake reference I promise.
Step One: Create a Canva Account
The first step to using Canva is to create an account.
Creating a Canva account is completely free and very simple. To get a Canva account you can either sign-up through Facebook or use your email address.
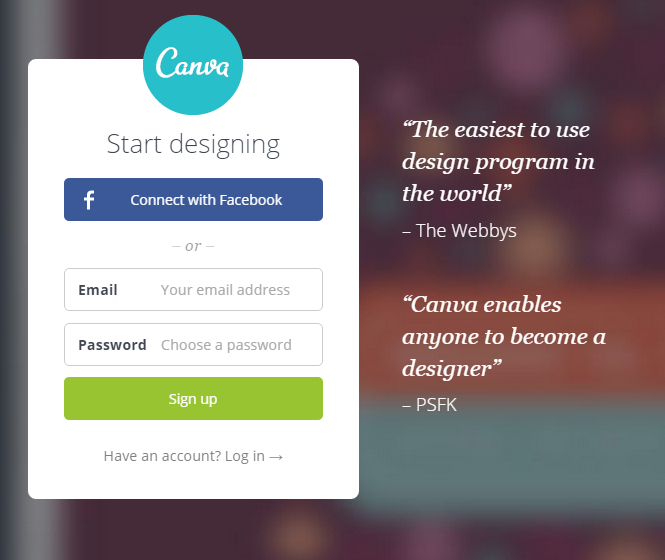
If you sign up through email you simply need to verify your account via a confirmation email and your account will be activated.
Once you have activated your account you can begin to experiment with all the great features Canva offers. Now let’s walk through the basics of creating an image on Canva.
Step Two: Select a Design Template
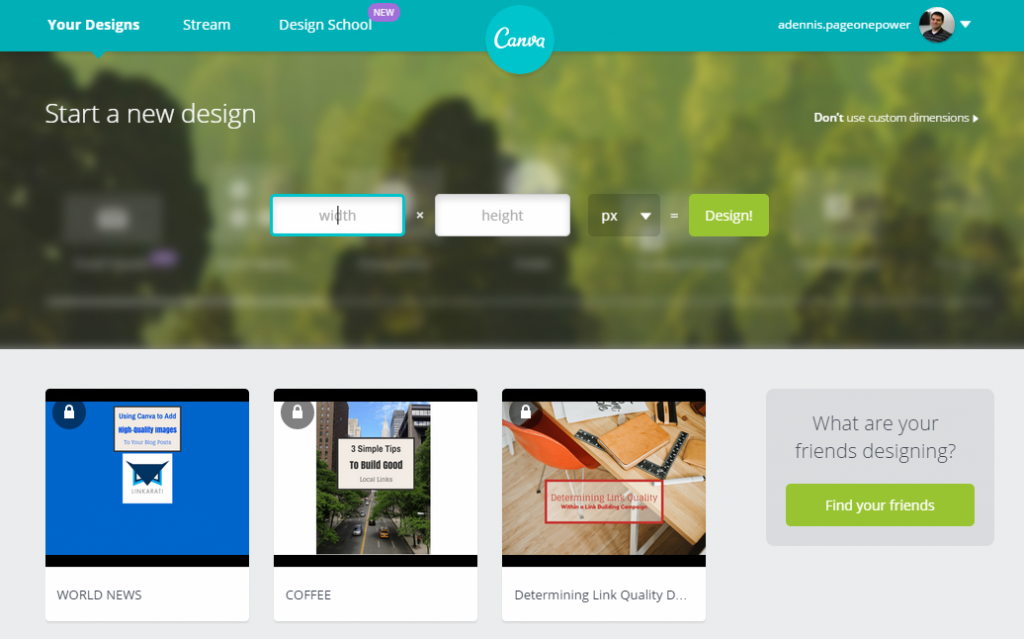
Once you sign into your Canva account, you will be taken to a home page of sorts titled “Your Designs:
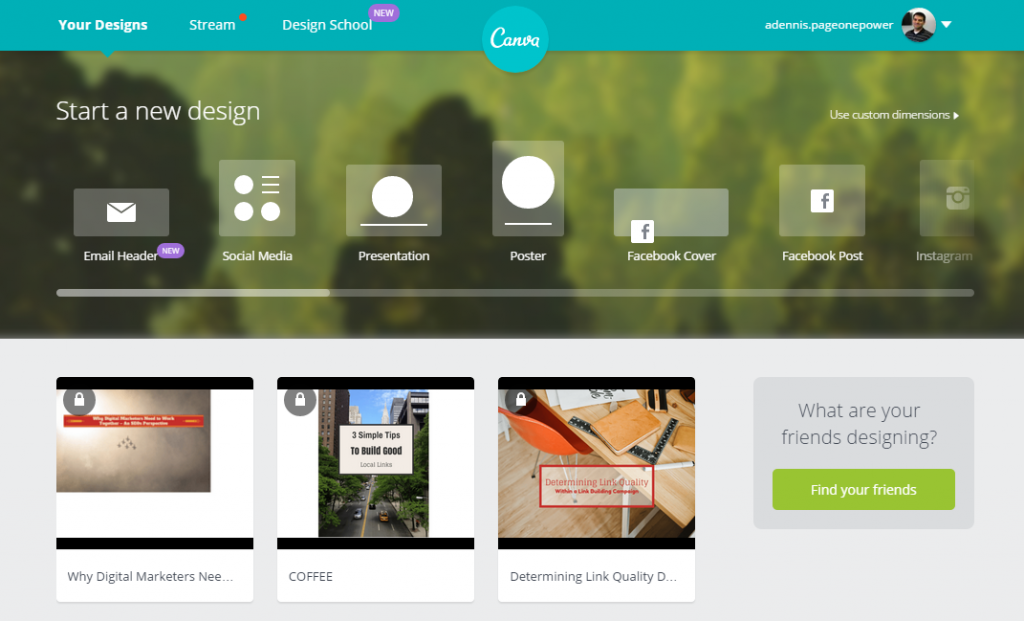
Before we get into selecting a template, it’s worth noting that there are also two other tabs you can click on here, “Stream” and “Design School”.
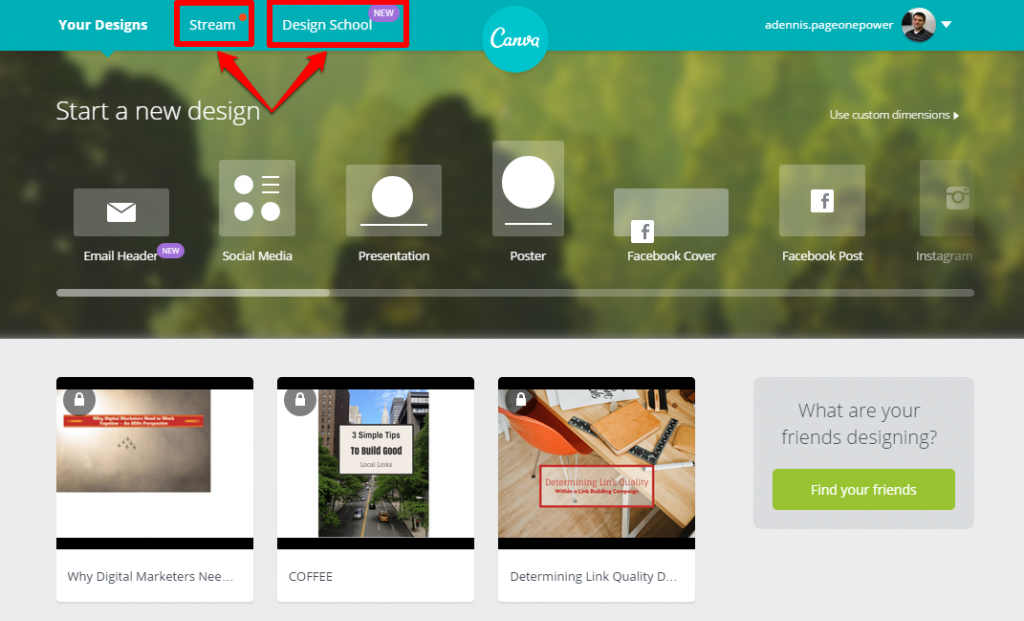
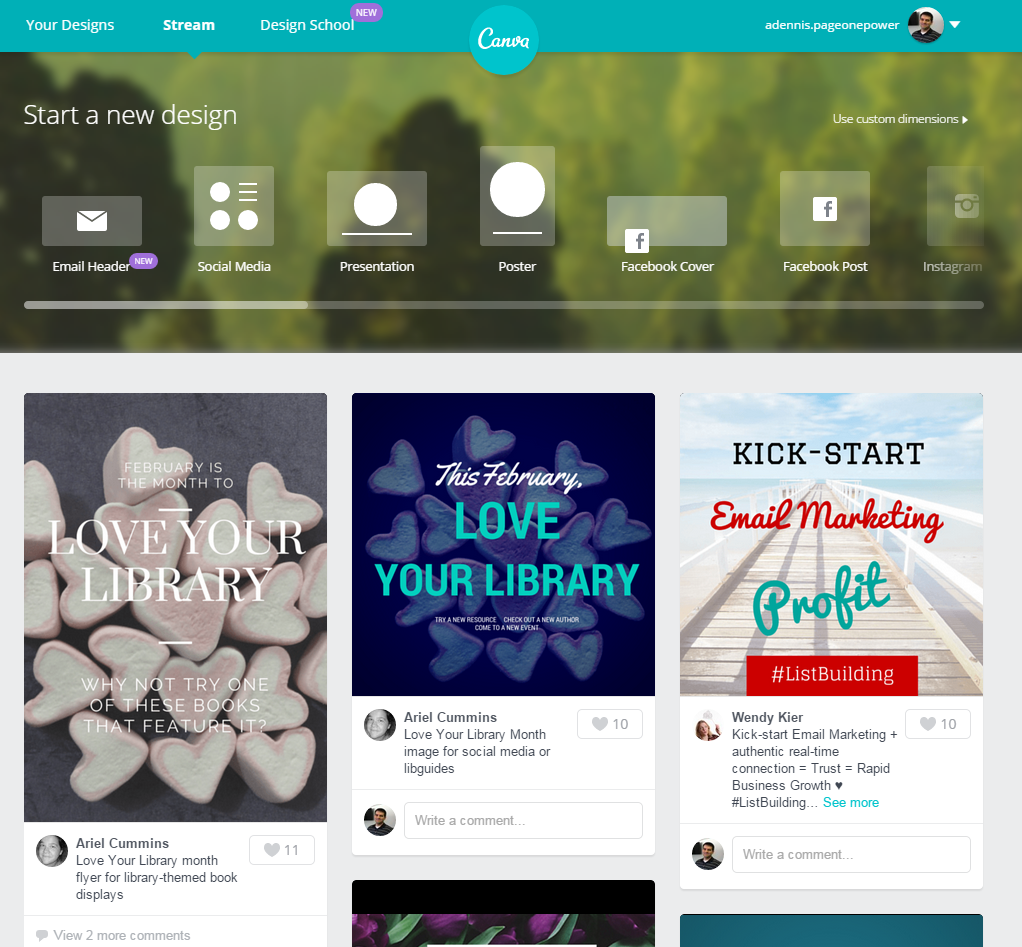
Clicking on “Stream” will take you to a stream that displays design work from other Canva users where you can favorite or leave comments.
The “Design School” tab will take to an entirely different part of Canva that is geared more towards education, complete with a blog, interactive tutorials, and teaching materials. For the purpose of this post we will be focusing on the basics of Canva, but if you want to learn more advanced techniques I highly recommend visiting their Design School.
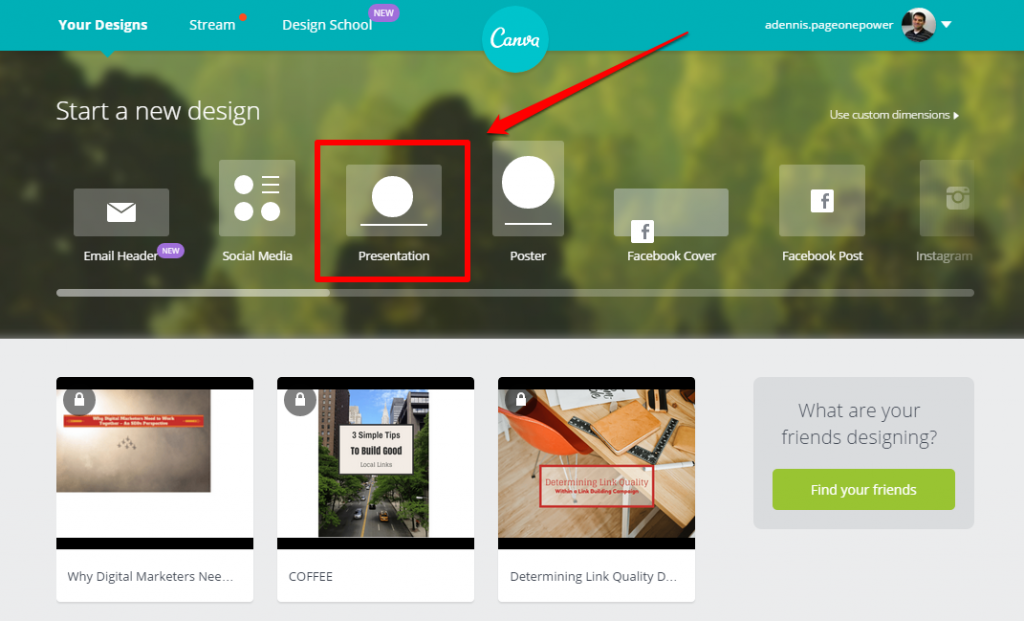
However, to create your basic image within Canva you will start by selecting a design template from the available options:
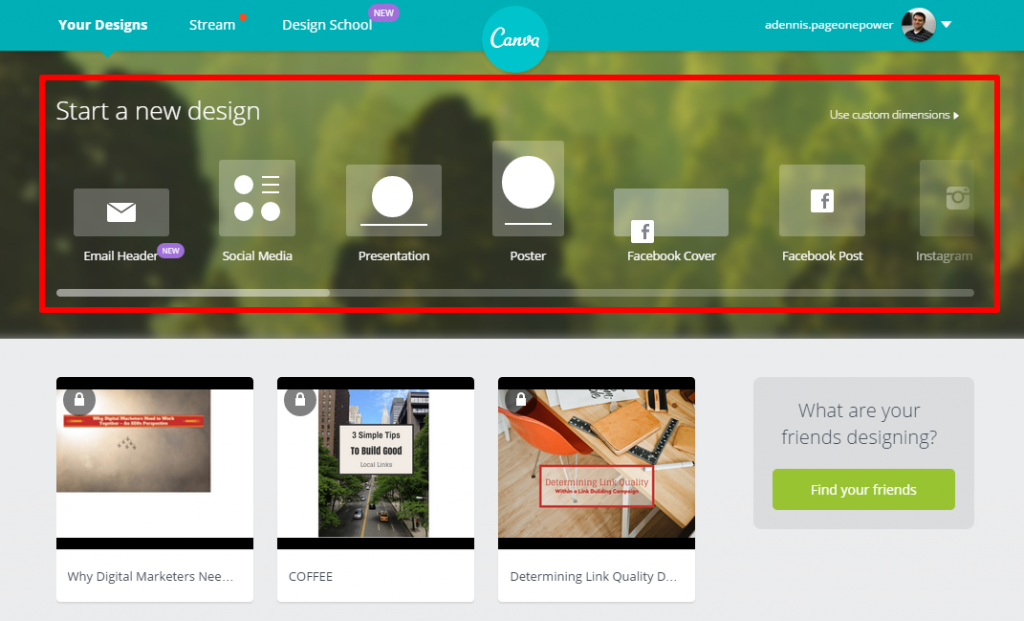
There are a wide range of templates to choose from (email header, social media, poster, blog graphic, etc.) and it’s likely that you can find a template to match your specific needs. If you can't find a specific template that you want to use, you always have the option of using the "Use custom dimensions" button:
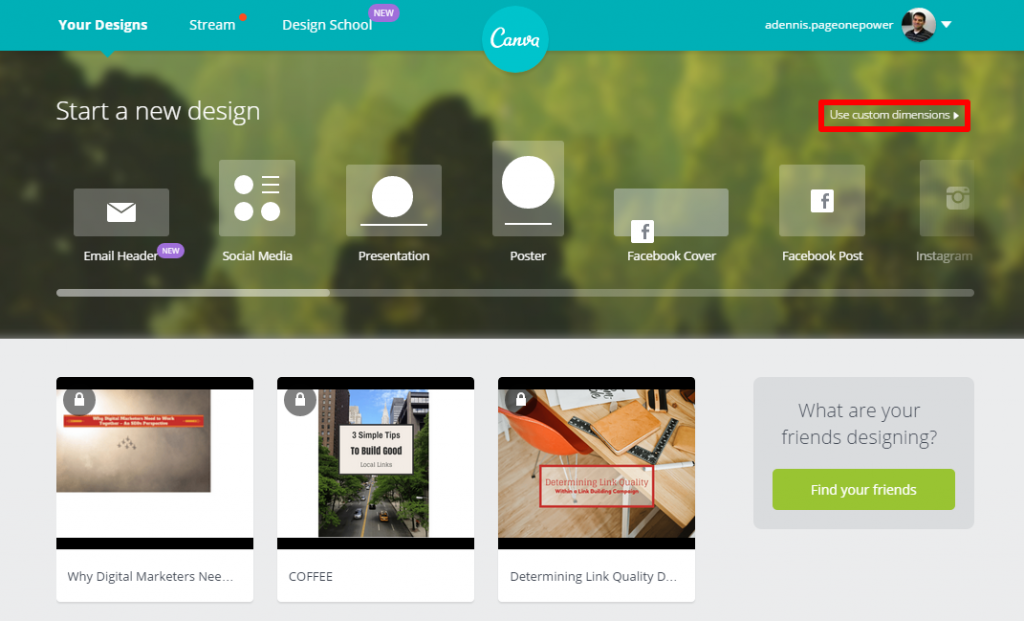
This button will allow you to choose the dimensions you would like to use for your design.
In this example I will create an image to be used as a title/featured image for a blog post. For images like this, my personal preference is to use the “Presentation” template (Note: This is simply my personal preference, and I urge to experiment with different templates to find the right fit for your unique style).
Step Three: Upload an Image
Clicking on the “Presentation” template will take us to a blank design page.
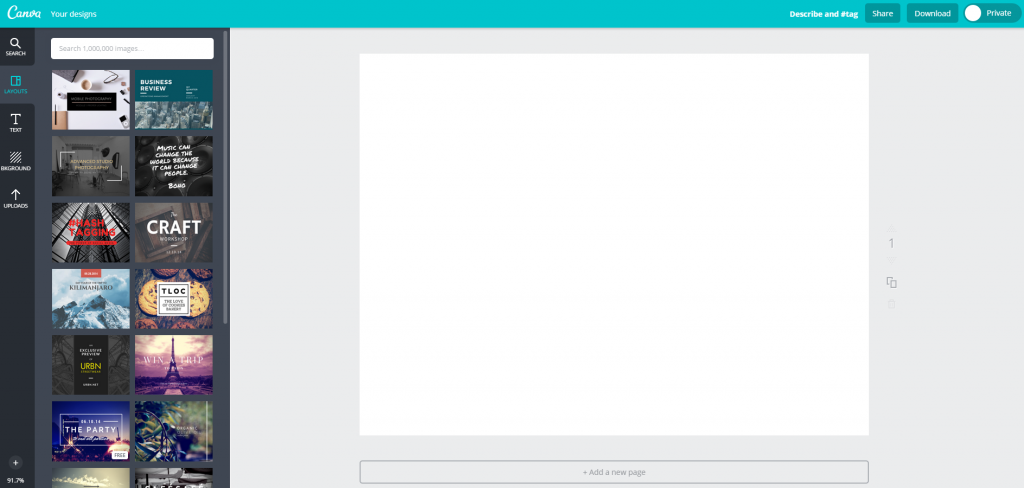
From here we are presented with a number of options on the left to choose from to get started, including:
- Layouts – Pre-loaded designs that can be customized
- Text – Customizable text graphics and fonts
- Background – Various background designs
- Uploads – Uploaded images from your computer or Facebook

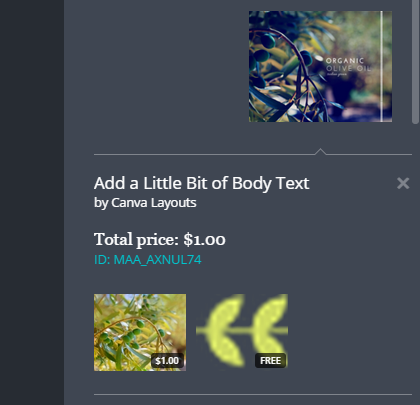
Within each of these sections (excluding Uploads) Canva offers both paid and free image options. Free images are labeled as such, and paid images will show a dollar sign when you hover over them:
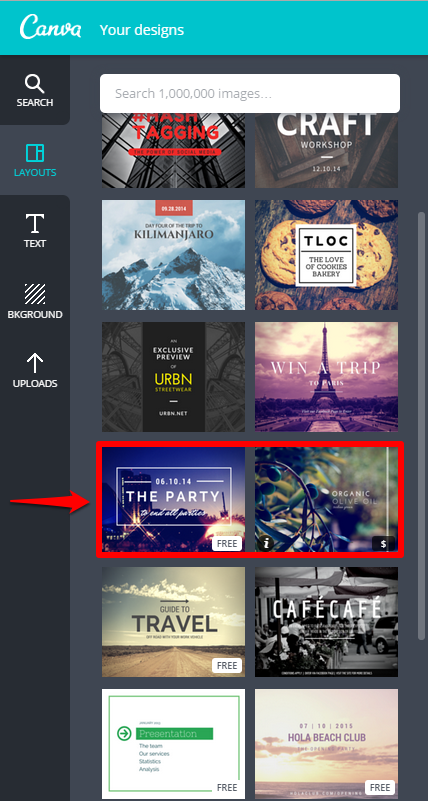
In order to see how much a particular paid image costs, you can click on the “I” icon to see a drop down with pricing information:
For this example I will upload one of my own images by navigating to the “Uploads” tab:
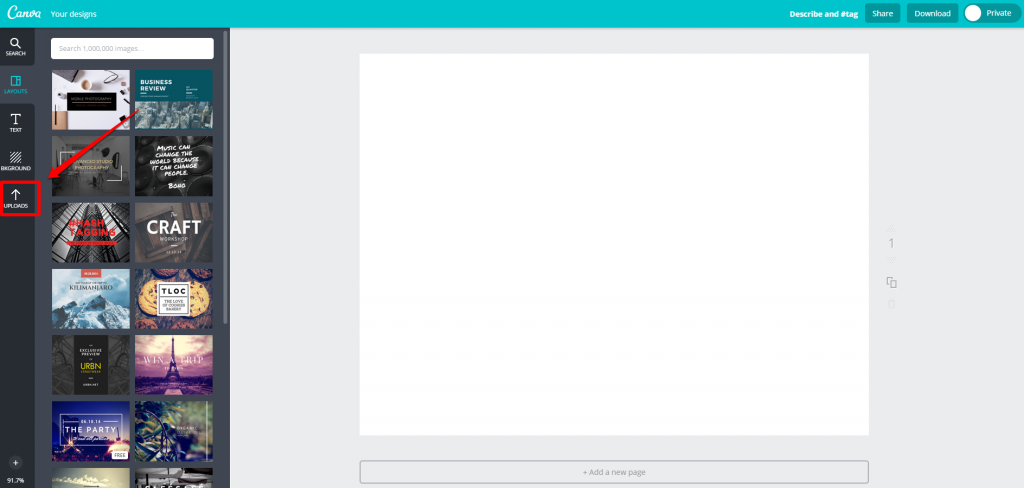
And then clicking on the “Upload your own images” button:

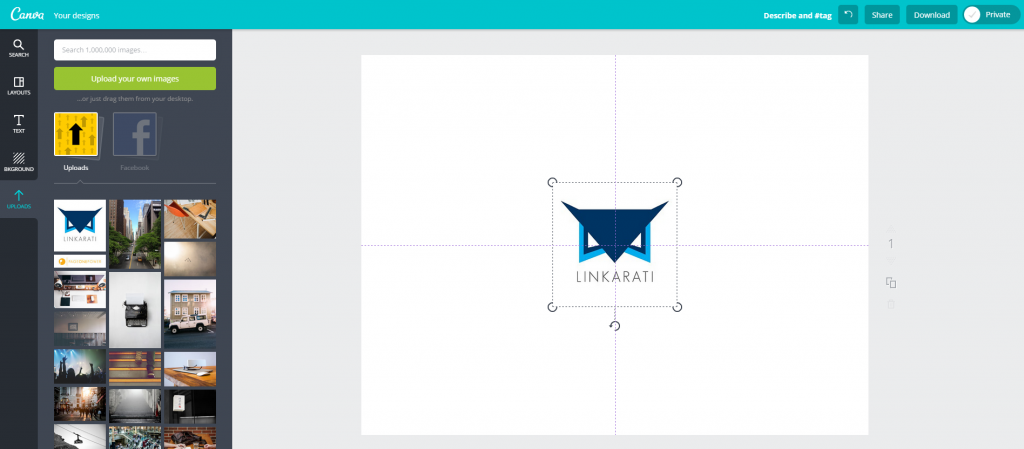
After you select your image and upload it, your image will appear under “Uploads” on the left:
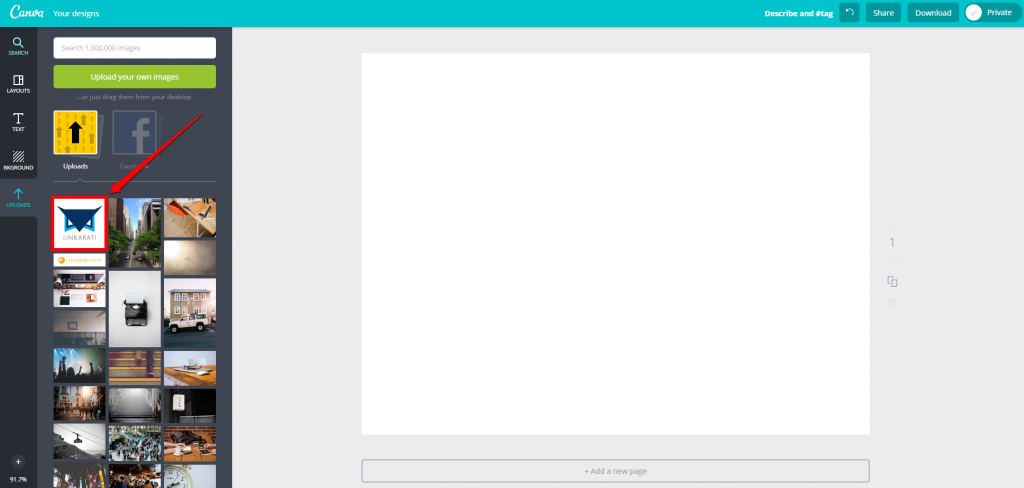
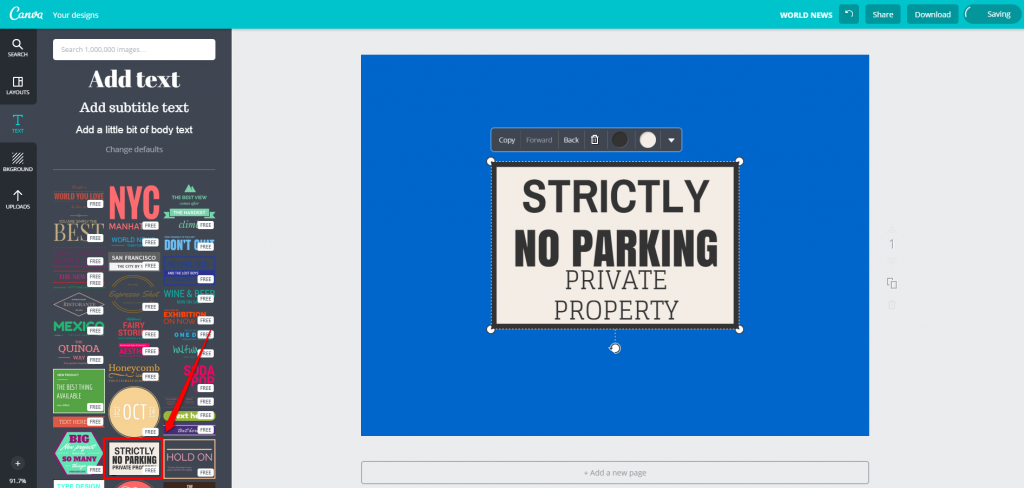
Simply click on your image once it’s uploaded and it will be generated within your design:
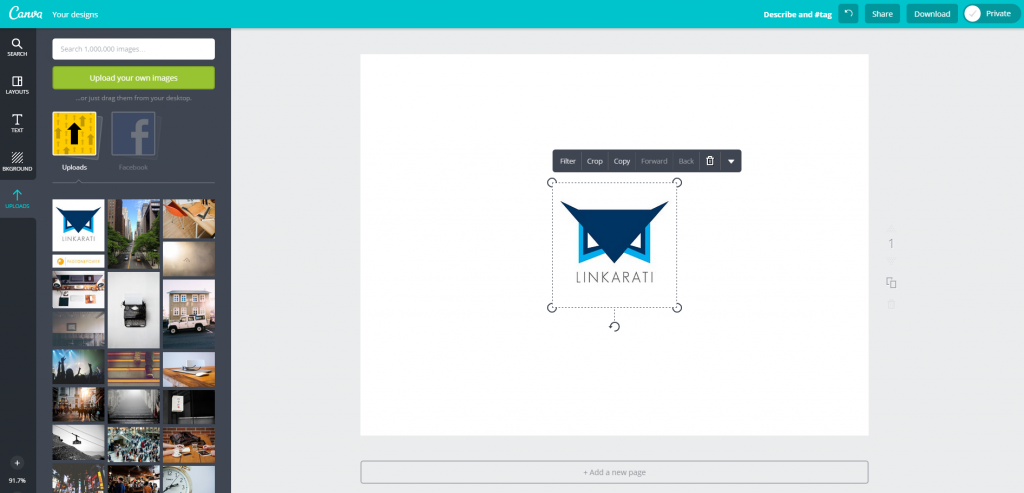
Once your image is uploaded into Canva you can manipulate as you like (resize, reshape, rotate, etc.). Also, if you drag your image slowly around the page you can center it both vertically and horizontally:
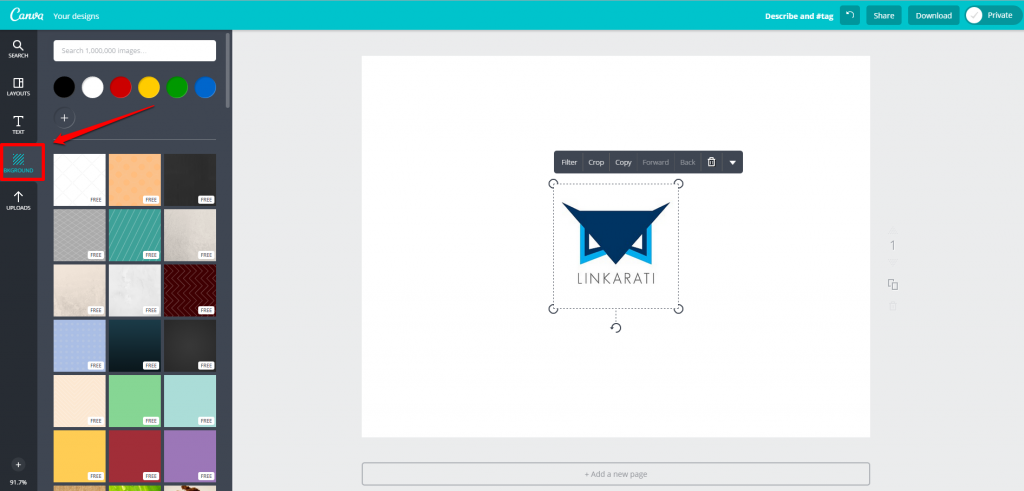
Step Four: Add a Background
Now that I have my image centered, I’ll throw a nice background behind it to fill the white space. This can be easily done by navigating to the aforementioned “Backgrounds” tab:
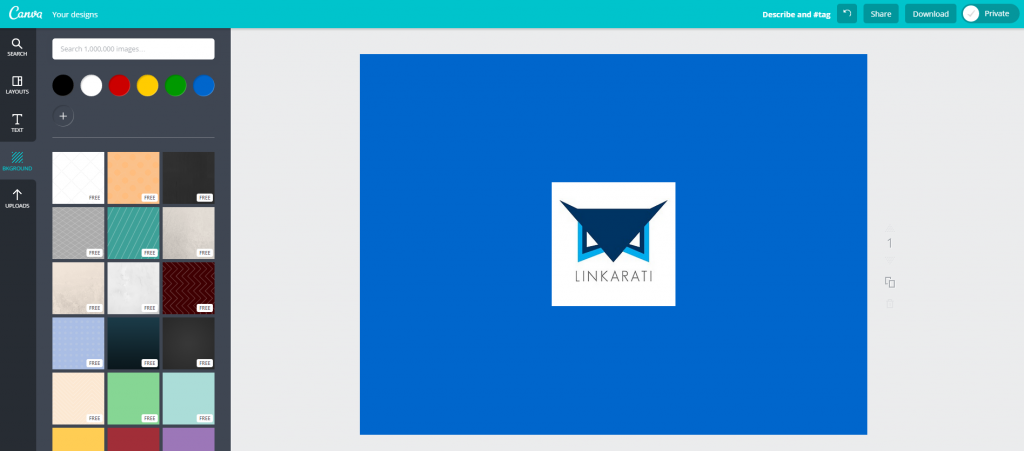
Along with the free background options provided, you also have the option of using a solid color.

I’ll go with the signature Linkarati blue:
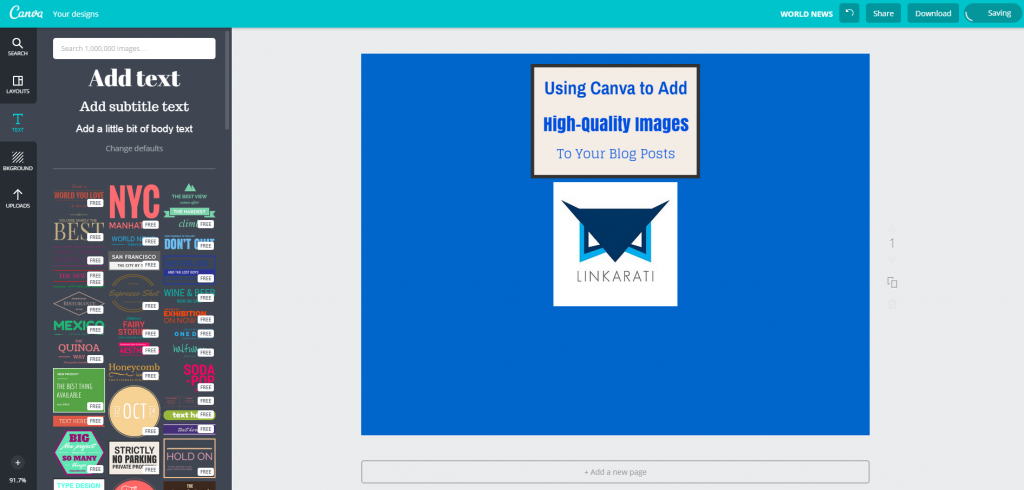
Finally, I’m going to add some text to my beautiful image.
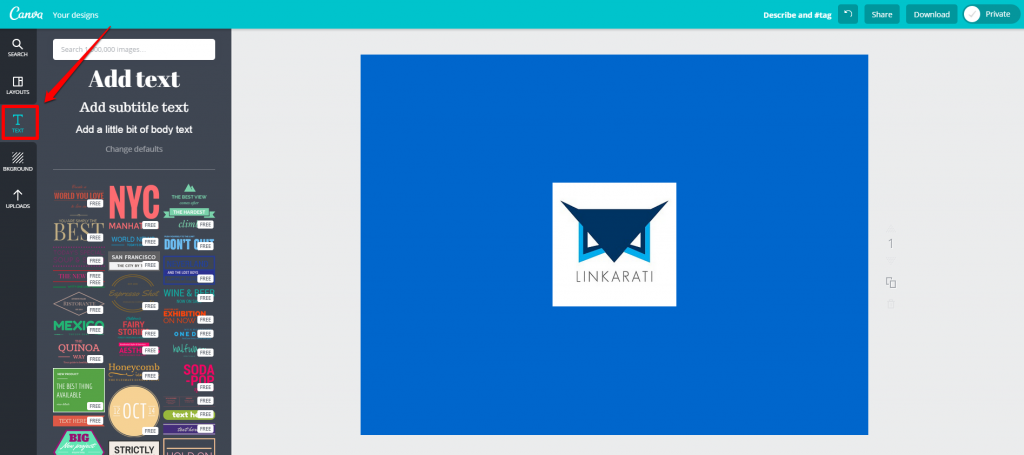
Step Five: Add Text to Your Design
As you might have guessed, to add text to your Canva image you must click on the “text” tab:
Again, Canva provides a number of excellent free and paid options. If you click on one of the options on the left, it will populate within your design. For example:
You can then move and resize the text image as you see fit. Once you have it where you want (again Canva will help you with centering), you can then edit the text to say what you’d like.

Along with editing what the text says, you can also modify the color scheme of your text image:
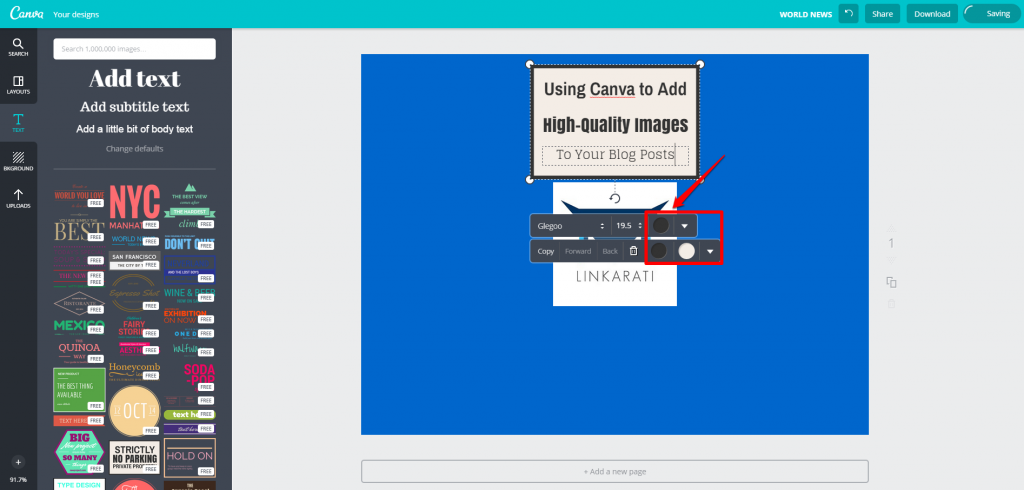
You can choose from a variety of featured colors or select your own within a pop-up color wheel:
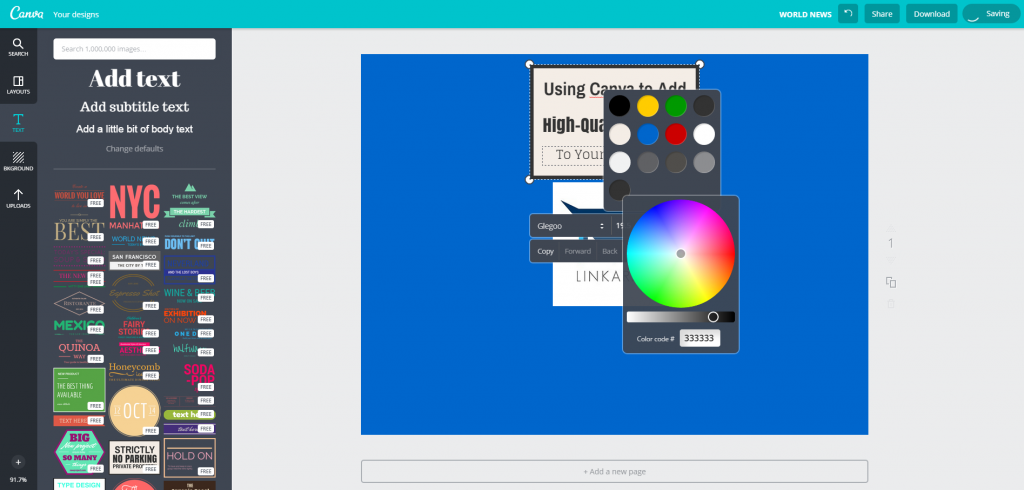
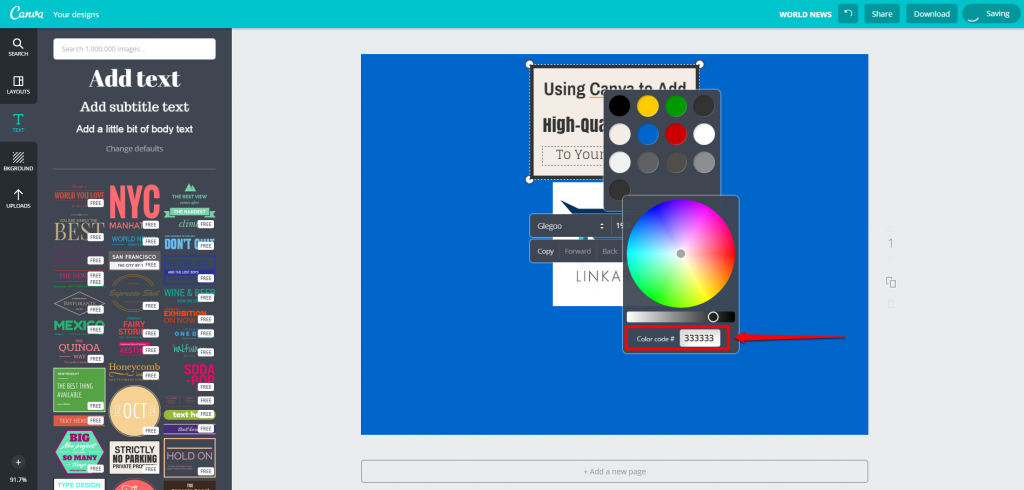
The pop-up color wheel also features the “Color code #” of the color you have selected, making it easy to match the colors within your text image:
Here is what my text image looks like after some customization:
Step Six: Download Your Design
Now I am done and ready to download my Canva image!
Downloading is easy and to get your image click on the “Download button, which will ask you if you would like to download your design as an image or PDF:
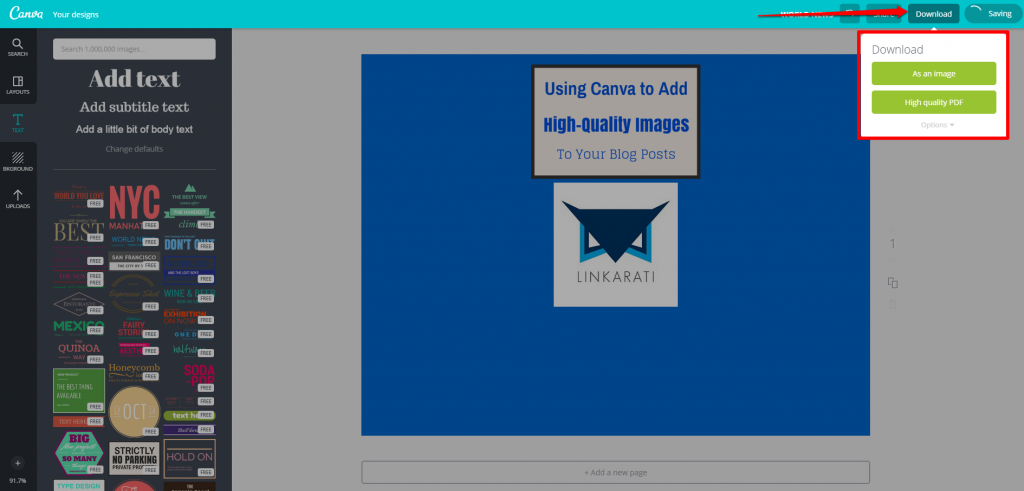
I will choose download as an image, and because I only used free elements within my design Canva allows me to download my image for free!
Also, after you have downloaded your image Canva gives you the option to share your design on the various social channels:
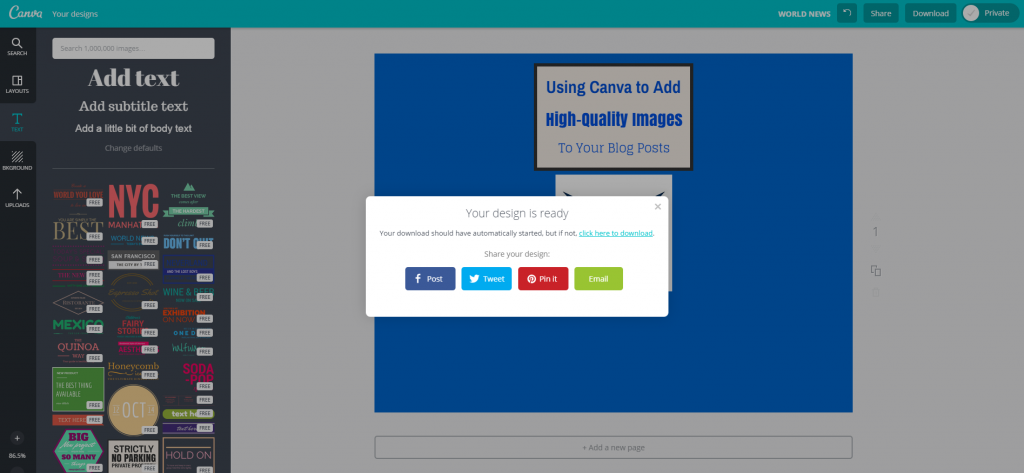
Once you have downloaded your image it is yours to keep and use however you would like, i.e. as the featured image on your next blog post. Here is my glorious, finalized image:
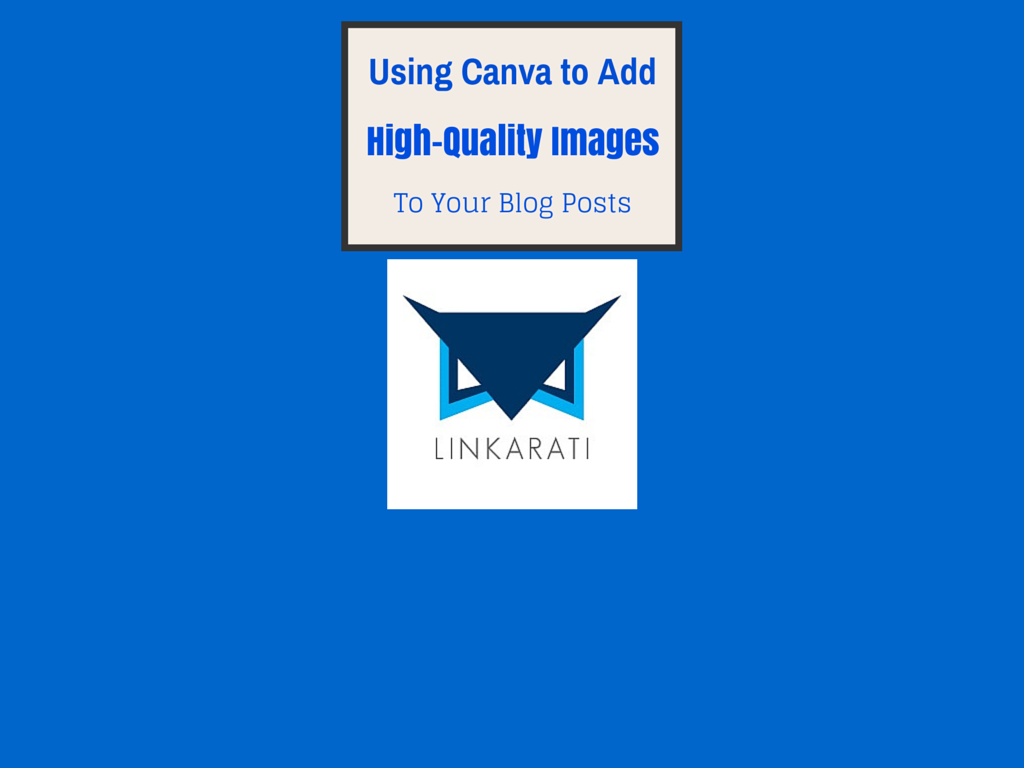
Okay, so it’s not exactly a masterpiece. But this is a very basic example of what you can create with Canva, and it would still add a nice visual element to a blog post.
Conclusion
Simply put, images make blog posts better. And if you’re looking for some help with images for your posts, you should definitely consider getting a Canva account. Thanks for stopping by for another Tutorial Tuesday and for not leaving after I referenced Drake.